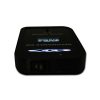
Description
About the Resonance EM
Modes of Operation
Each mode on the Resonance EM is designed to create a different effect within the electromagnetic spectrum. In the settings mode you can turn toggle the lights/audio and with audio off and lights off the EM Resonance will silently continue to create the magnetic effects without contaminating your audio or video recordings.
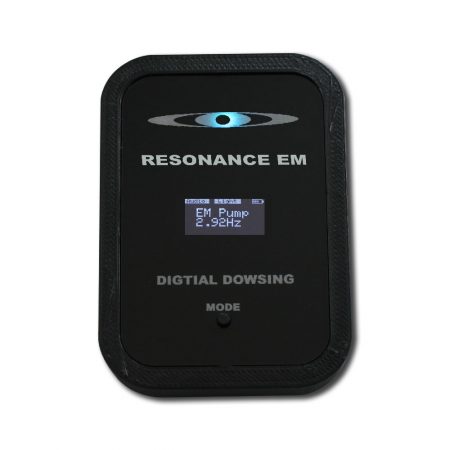
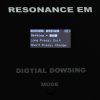
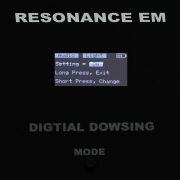
The Resonance EM is very simple to use even in the dark. There is a power switch on the top next to the Mini-USB charging port. There is a mode selection button on the front allowing you to cycle between the modes. Long press the mode button to enter settings, the settings screen allows you to toggle audio and the upper light array.
EM Pump:
Overview:
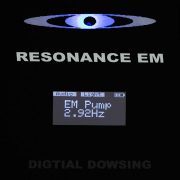
Creates a rising pulse from .2 Hz to 500 Hz then repeated. Designed to attract attention like a beacon in the EM spectrum.
How the EM Pump Works & What it Does:
The EM Pump creates an EMF Siren by oscillating electromagnetic fields. Just as a police siren is easy for the human ears to detect, the EM Pump will act as a beacon in the Electromagnetic Fields. The EM Pump starts producing a .2Hz pulse* and increases to 500 Hz pulse*. *Calculated frequencies based on operational rates of the on-board microprocessor. While the device is ON the EM Pump indicator light will illuminate and flash slightly. This version will also allow the user to lock the pump at a frequency to experiment with a set pulse rate by double-clicking the mode button. You will notice the LED light becomes brighter as the pulse frequency increases. Since the frequency and duration changes, it is thought of as a beacon or trigger device. The Ghost Adventure Crew found this happens on film! The EM Pumps were used by Ghost Adventures on several episodes in 2009. The original EM Pump was created by Digital Dowsing in 2008. Do not be fooled by imitations!
Where to Use:
Set the device in an area where you are trying to capture EVP or photographic evidence. Simply set the device down, turn it on and let it run. Bring an EMF meter close to the device; you will see the field change. DO NOT set an EMF meter directly on the Resonance EM! The field strength that close could damage your EMF meter. EMF emission at 4” inches from the device is reasonably low. As a safety precaution set the unit down, turn it on and stand at least 12” inches away. Try setting a fixed frequency using the unit to “SYNC” yourself to the environment or the energy of an area.
EM White Noise Mode:
Overview
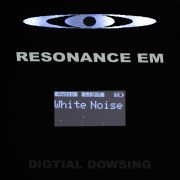
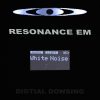
The white noise is created as a multi-tone, complex white noise that sweeps. Designed to help boost EVP when used with a recording device.
What the EM White Noise Mode Does
The EM White Noise mode creates a multi-tone, complex sweeping electromagnetic white noise. Without the audio on you will not hear the white noise as the noise is created as an electromagnetic field. In order to listen to the white noise generated you can turn on the audio or use an an inductive microphone such as the EVP Mic. The EVP Mic could safely be placed within a few inches of the Resonance EM.
How the Mode Works:
Based on the principles of wave propagation, the White Noise EM was created to boost EVP (Electronic Voice Phenomenon) without interfering with the normal audio. Learn more on the principles of wave propagation used in the White Noise EM. Conventional methods of creating white noise commonly generate audible sweeping static. The White Noise EM differs by creating white noise as an electromagnetic signal rather and an audible signal. Why would this be important? It is important as EVP is thought to be a non-auditory event. Thus adding audible white noise is potentially masking the non-audible event. EVP’s are not necessarily a constant event, however the White Noise EM will give you the best chance for a more audible class A EVP recording. Bill Chappell used this with Zak Bagans in the Poker room of St. James Hotel. During the EVP session Bill asked “what do you do for fun? I mean, it can’t be fun just sitting in this place.” They received a clear EVP saying “SMOKE.” We invite you to watch the White Noise EM in action below. Near 31’30” there is brief explanation of the device and a short session follows. The EVP of ‘smoke‘ was captured near 39’30”. The episode also features an early iteration of the Xcam SLS. To experiment with the device we recommend setting the device at varying distances from your EVP Recorder.
EM Wave Mode:
Overview
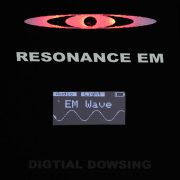
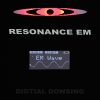
The EM Wave Mode creates a pulsing wave as a magnetic field, think of it as an oscillating fan effect.
Uses
During an EVP session try asking if the EM Wave can be heard, felt, seen etc. Use the EM wave as a trigger to draw attention to an item or area.
EM Siren Mode:
Overview
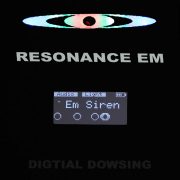
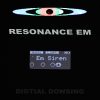
Creates a rise and fall siren as a magnetic field, this mode works just like a siren breaking through background noise by continually changing the frequency. The Change in Frequency is much faster than the EM Pump mode and the frequencies are much higher.
Settings Mode:
To make it all a bit easier the Resonance EM has a built-in digital display and LEDs to allow you to understand the current function in real time. Sound is also built it so you can “hear” approximately what is being sent as a magnetic field.
Settings allow you to turn the audio on/off, the light on/off.
Case Options Available
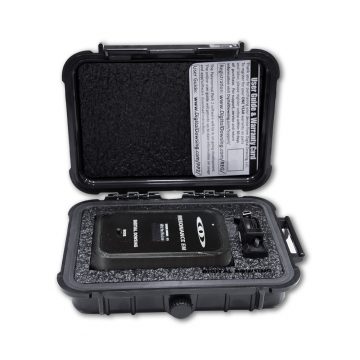
Optional Mini Weatherproof Case
- Water resistant
- Impact resistant
- Hard shell durable plastic case
- Custom cut foam ensures a safe and snug fit for your device
- Portable hand sized (6″ x 4″ x 2″)
Charging the Resonance EM
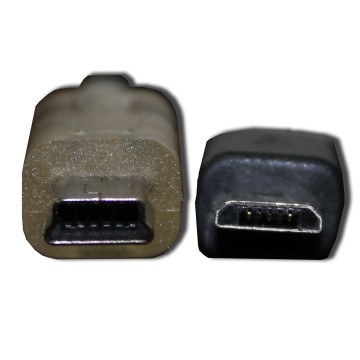
Charge the Resonance EM with the provided USB to USB Mini cable. The USB Mini side of the cable will plug into the bottom of the unit. Plug the standard sized end of the USB cable into any USB port on a computer or spare cell phone charger. Charging may vary from 30 minutes to 2.5 hours. During charging a small light on the face plate up from the USB port will be illuminated, when charging is complete the color will change. Run time on a fully charged unit ranges from 6-7 hours. For best results we recommend charging prior to each investigation.
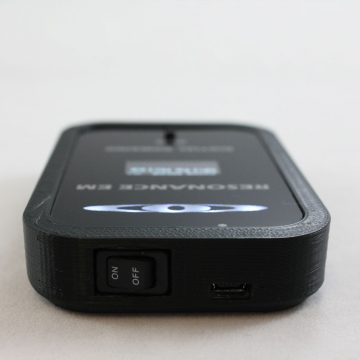
Please note that the cable provided with the unit is a USB to USB Mini and many cell phone charging cables will not work as most phones come with a USB Micro. Depicted is a the slightly larger USB Mini end on the left versus the smaller USB Micro on the right.
Investigation Sheet for Resonance EM
Download
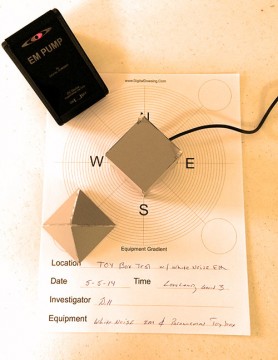
Printable Gradient – Print this guide to know exactly where your equipment was set.
Download your own investigation sheet.
Gradient Directions:
- Orient the gradient to the cardinal directions and fill out the sheet.
- Set your equipment on the circles.
- Use this to document your experiments and allow others to duplicate what you have done.
